Why Manual Uploads Are Useful
Manual uploads allow users to:
- Upload data of instruments which are not connected to data acquisition systems.
- Maintain alignment with Proqio’s measurement categories and templates
- Ensure that manually monitored instruments are accurately reflected on the Proqio platform and your project data remains complete and up to date.
Steps for Uploading Instrument Data Records Manually
- Navigate to monitoring page
- Go to the monitoring page in Proqio.
- Locate the Upload CSV button and click the drop-down arrow beside it.

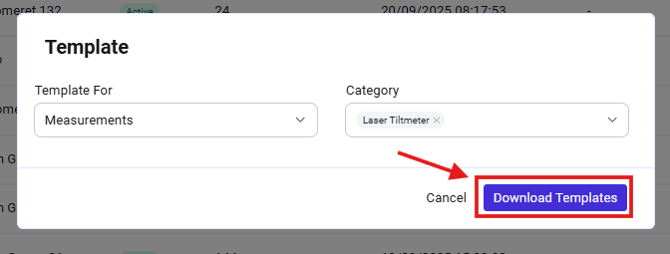
- Download Templates
- From the drop-down menu, select Download templates.
- Choose measurements under the template option.
- Select the category for which you want to upload data.
- Download the CSV template file using the Download the template button.
- Prepare the data file
- Fill in the downloaded template with the sensor reading data.
- Important: The sensor reading data file may be in a different format. Always transfer the data into the Proqio measurement template without altering any predefined headers. This ensures proper alignment with category fields and prevents upload errors.
- Correct date and time format
- Set the Date & Time column to the format:
[DD/MM/YYYY HH:mm:ss]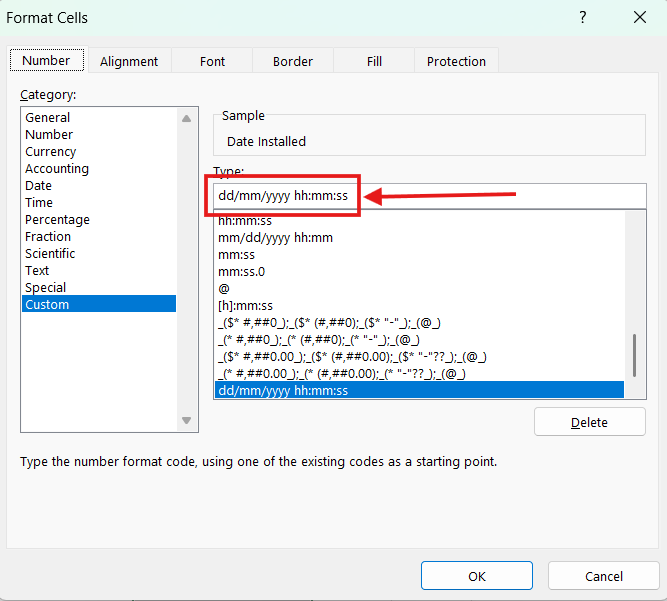
- Set the Date & Time column to the format:
- Upload the file
- Save the filled-in template.
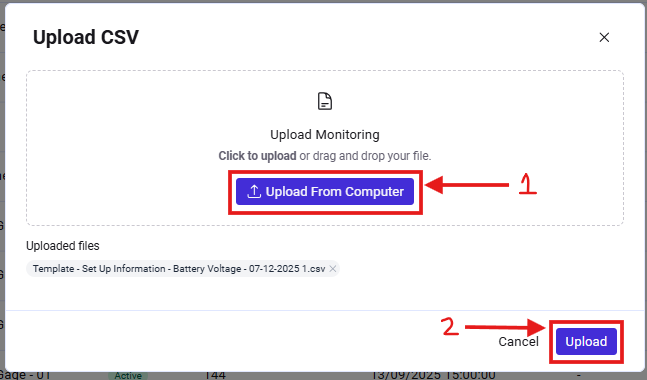
- Use the Upload CSV option on the monitoring page to upload the file.
- Upload csv window will open, import the data file using upload from computer option then click upload button to upload the file.
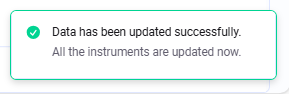
- A “success” message will appear at the bottom-right corner once the upload is complete.
- Verify the upload
- Cross-check the data history and instrument graph to confirm that the uploaded data is reflected correctly in Proqio.
Troubleshooting errors during upload
Even with careful preparation, errors may occur. Here’s how to resolve them:
- View the error message
- If an error occurs, click view details on the error notification displayed on the screen.

- If an error occurs, click view details on the error notification displayed on the screen.
- Expand the error message
- Once you click on view details an error message window will open.
- Click on the error message and expand it.

- Identify the Issue
- The full error message will provide details about the problem, including the exact row and row number where the issue exists.

- The full error message will provide details about the problem, including the exact row and row number where the issue exists.
- Correct the mistake
- Rectify the identified error in the CSV file.
- Save the corrected file.
- Re-upload the file
- Upload the updated file again using the Upload CSV option.
Key Takeaways
- Always use the Proqio-provided measurement template without modifying headers.
- Ensure the Date & Time column follows the correct format.
- Verify uploaded data against history and graphs.
- Use error messages as guides to quickly identify and fix issues.